Preparing your comprehensive person report for exporting begins before you even run the report. When you click to generate or run a Premium Profile i.e. Comprehensive Person Report, it will bring you to a Report Options page.
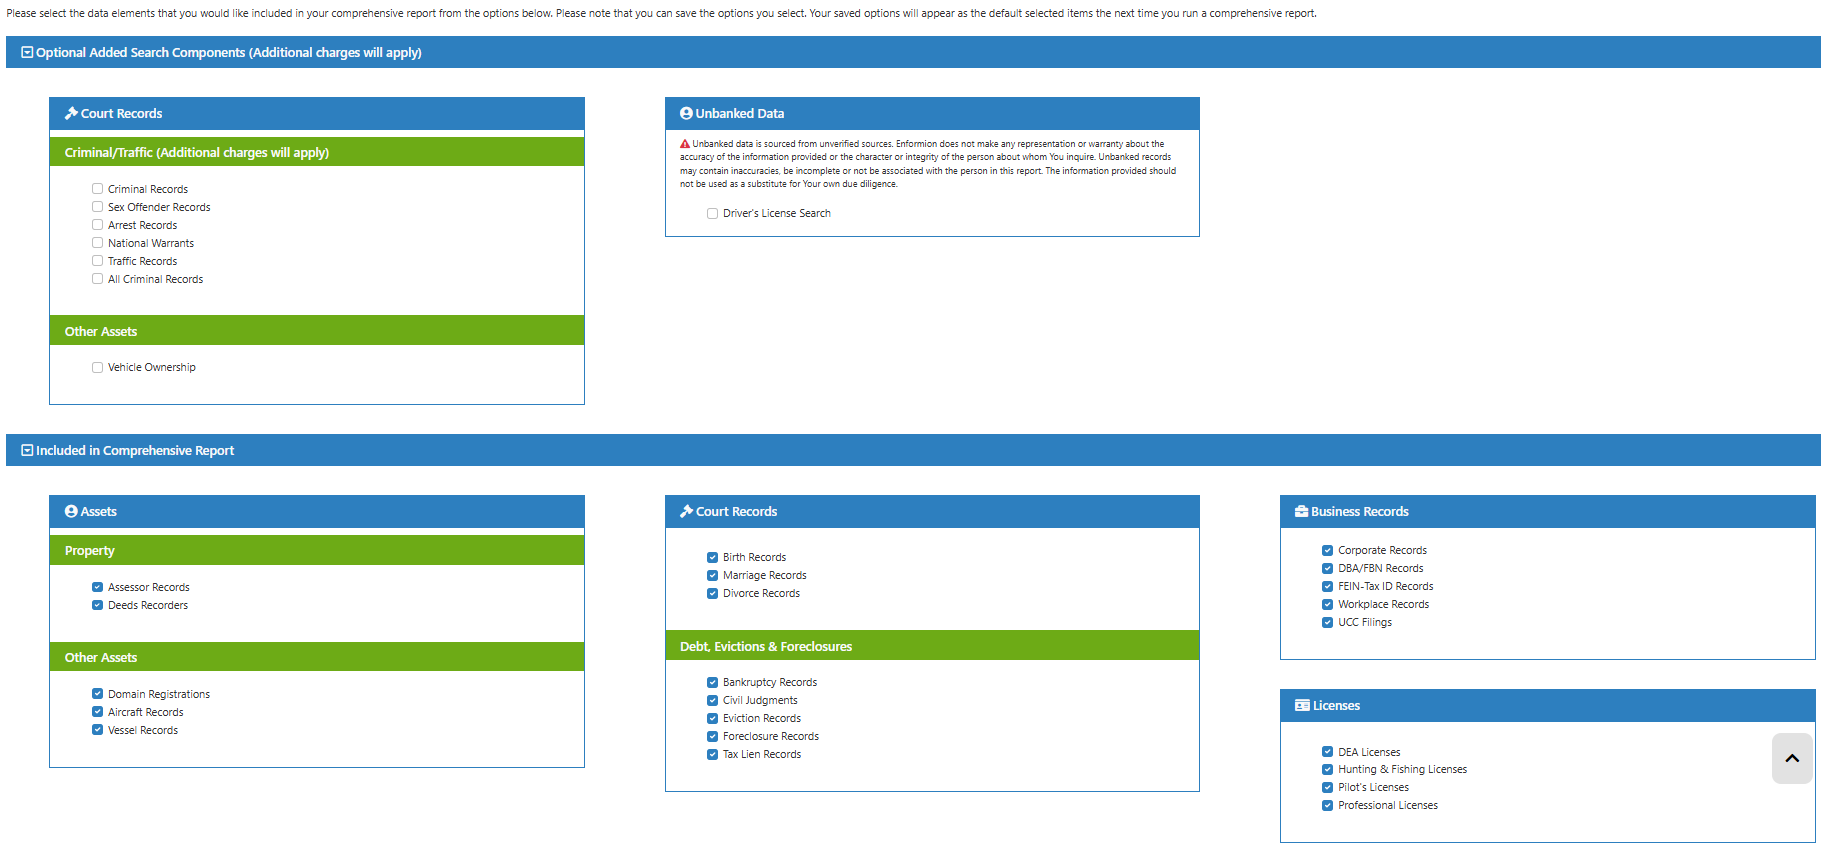
The bottom boxes contain items that are included in the base cost of the comprehensive report: assets, court records, business records, and licenses. These may all be automatically checked. If you do not wish to include some of these things, such as birth or marriage records, simply uncheck those items. This will save you time later from having to navigate through unwanted records in your report.
The top boxes contain optional search components that you can add onto your report if needed: criminal records, vehicle ownership records, and unbanked data. These options may list an additional cost, depending on your pricing plan. If you would like to see the criminal records, sex offender, arrests, warrants, and traffic records, click All Criminal Records Addon, rather than selecting them individually.
After you have made your option selections, if you want your comp reports to run this same way every time going forward, click the Save Options button at the bottom of the page. Your saved options will appear as the default selected items the next time you run a comprehensive report.
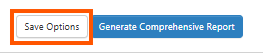
Then click Generate Comprehensive Report.
When the report opens, you'll see a Table of Contents bar on the left side of the page. Clicking on tabs in the Table of Contents will take you immediately to that section of the report, rather than scrolling down the page. There are also little eyes next to each section. This is the hide/show section button.
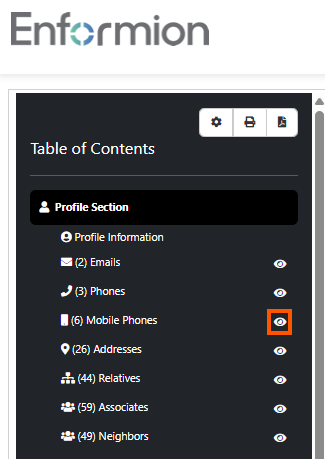
If there are sections that you do not wish to print or include on your exported report, you can click the hide/show eye to hide that section.
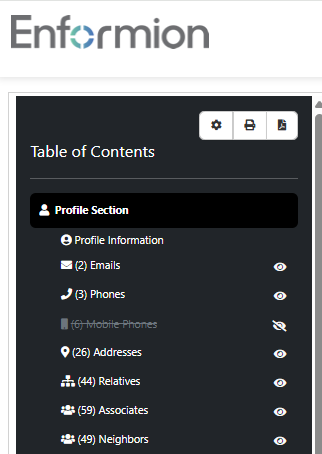
When the section is hidden, it will show a line marked through the eye. Anything that is hidden will not print out or show on your exported report. If you hide a section in error, just click the eye again to unhide it. All sections are always saved in full in your search history.
When you are ready to print or export the report, click on the gear icon at the top of your table of contents.

This will open a dialogue box listing the print / output options.

Choose the desired destination and click Output Report.
*** Please Note - although we offer an option to add your logo to the top of the report on the printer destination, Enformion reports are not to be ran and handed off directly to consumers. All data received through our searches is pointer data that must be confirmed and verified through your own due diligence. Please refer to your Master Access Agreement or email compliance@enformion.com if you have additional questions. ***
To add a logo to your report for the first time, click Upload Custom Logo. The logo file must be in .png or .jpeg format, with a maximum size of 10 MB. Thumbnail sizes are usually best. A file upload box will open so you can find and add your saved logo from your computer.
Your logo will now be listed in the dropdown under Choose Logo.
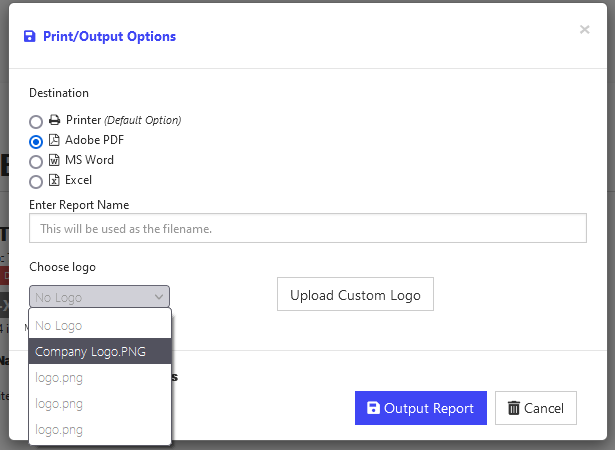
Your uploaded custom logos will be saved in the dropdown for future use, so you do not have to upload the same logo for other comp reports.
Click Output Report.
For help finding downloads on your computer or device: https://help.enformion.com/knowledge/how-to-find-downloaded-reports
If you need further assistance, please call (855)-281-3915 or email support@enformion.com.